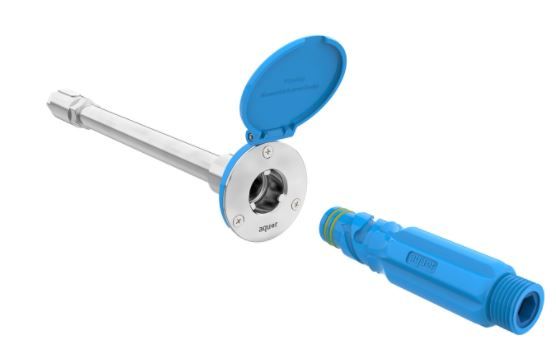
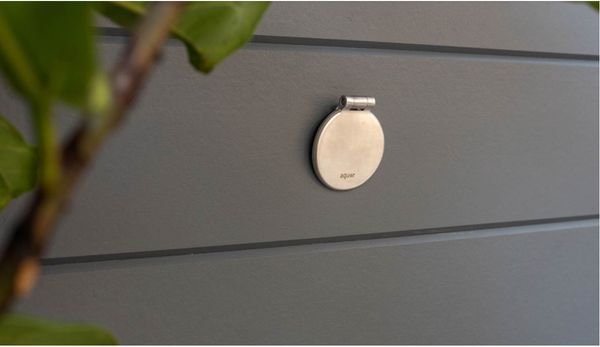
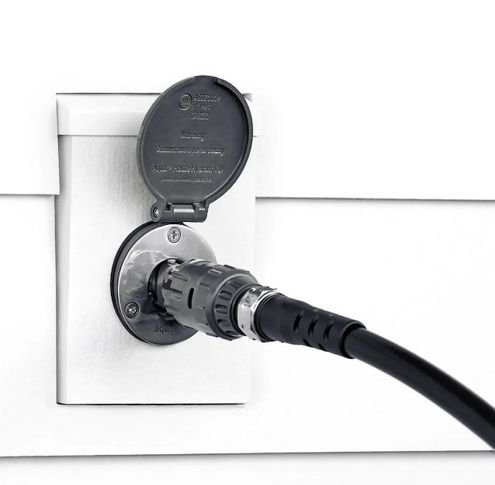
Installing Aquor Water hydrants is a straightforward process that can be completed in just a few simple steps. Here's how to install a stainless steel, Aquor Water hydrant for your exterior faucet replacement.
Step 1: Gather Your Tools
Before you begin the installation process, make sure you have all the necessary tools on hand. You will need a shovel, a post hole digger, a level, a tape measure, and a screwdriver.
Step 2: Choose the Location
Choose a location for your Aquor Water hydrant that is close to your water source and easily accessible. Make sure the area is free from any obstructions and has enough space for the hydrant to be installed.
Step 3: Dig the Hole
Using a shovel or a post hole digger, dig a hole that is at least 18 inches deep and 6 inches wide. The hole should be deep enough to accommodate the hydrant's frost-free design.
Step 4: Install the Hydrant
Place the hydrant in the hole and use a level to ensure it is straight. Fill the hole with soil, making sure to pack it tightly around the hydrant to keep it in place.
Step 5: Connect the Water Supply
Connect the water supply to the hydrant using a standard garden hose. The twist-lock design of the hydrant ensures a watertight connection, preventing leaks and water waste.
Step 6: Test the Hydrant
Turn on the water supply and test the hydrant to make sure it is working properly. If you notice any leaks or issues, make sure to address them before using the hydrant regularly.


