A leaky faucet is more than just an annoyance, it can waste thousands of gallons of water each year if left untreated. Thankfully, fixing a leaky faucet is a DIY project that many homeowners can handle with the right tools and guidance. This step-by-step guide will walk you through the process, helping you save water and avoid costly plumbing repairs
How to Fix a Leaky Faucet
Caitlyn Brown

How to Fix a Leaky Faucet by Broken Arrow Plumbers
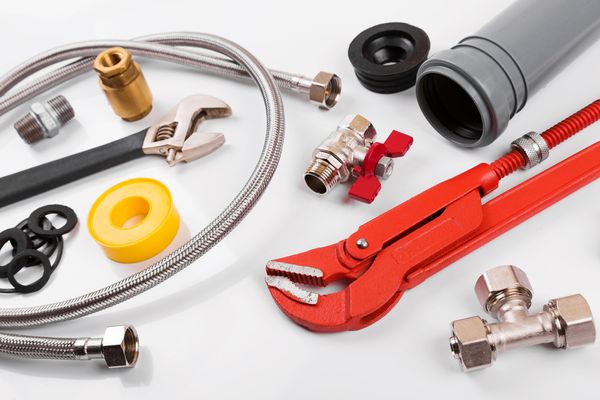
Tools and Materials Needed Before starting, gather these tools and materials:
Adjustable wrench
Screwdriver
Replacement washers, O-rings, or gaskets
Towels
Protective gloves
Vinegar (for cleaning mineral deposits)
With the right tools in hand, you’ll be ready to fix the faucet without running into unexpected problems.

Step-by-Step Guide: How to Fix a Leaky Faucet
Step 1: Locate the Leak
First, determine which side of your double-handle faucet is leaking. Turn off one water supply valve at a time to identify which side is the culprit.
If the leak doesn’t stop after turning off one side, it’s coming from the other line. If your valves are stuck, you may need to shut off the main water supply to proceed. Open the faucet to let any remaining water drain out, and close the drain to prevent parts from falling down it.
Step 2: Disassemble the Faucet
Once the water is off, it’s time to take apart the faucet:
Remove the faucet aerator and check for damage. If it’s stuck, wrap a vinegar-soaked towel around it for an hour to help loosen mineral buildup.
As you take apart the faucet, lay out the parts in order and take a photo for reference. This will help you remember how to reassemble it.
If you need replacements, take the parts to a store. Sometimes, buying a complete repair kit is the easiest option.
Step 3: Replace the Faulty Parts
For double-handle faucets, the most common repairs involve replacing the washer, O-ring, or even the entire valve seat. If your faucet uses a ceramic disc or cartridge, it’s often best to replace the entire cylinder for a longer-lasting fix.
Step 4: Reassemble the Faucet
After replacing the necessary parts, reassemble the faucet in the reverse order of how you disassembled it. Once everything is in place, turn the water supply back on slowly to avoid damaging new components. Let the water run for a few minutes to clear out any debris from the new parts.

Tips To Prevent Faucet Leaks
Faucet leaks are often caused by worn-out parts, mineral buildup, or high water pressure. Here are a few tips to keep your faucets in good shape:
Inspect Regularly: Check your faucets every 3-6 months for signs of wear or leaks.
Clean Aerators: Soak aerators in vinegar to remove mineral buildup.
Address Loose Parts Quickly: Tighten loose screws and nuts to prevent leaks.
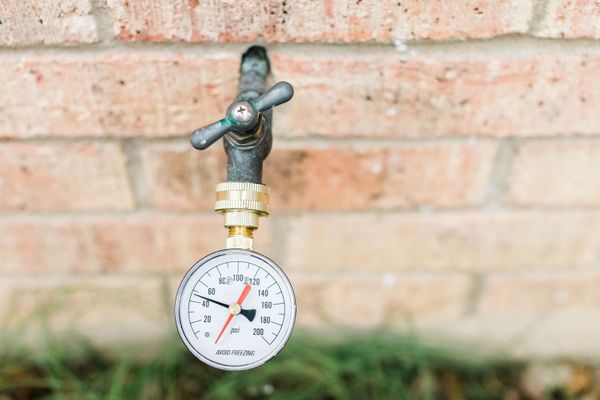
Manage Water Pressure: High water pressure can strain your plumbing, leading to leaks. Keep pressure between 40-60 psi for optimal performance.

Importance of Water Pressure Inspections
Proper water pressure plays a crucial role in preventing faucet leaks. If your water pressure is too high, it can strain the internal components of your faucet, leading to leaks over time.
Turn on the tap to let any leftover water flow out. Then, close the drain to stop items from falling in. A pressure gauge can help you check the levels. If the pressure is often above 60 psi, you may need a pressure regulator. Regular inspections can save you from expensive repairs down the line.
Know When to Call Spot On Plumbing of Tulsa Plumbers
If you’re not comfortable handling a leaky faucet yourself or if the problem persists after repairs, it may be time to call in a professional plumber. A small leak can turn into a larger problem if ignored, potentially causing water damage to your home.
By following this guide, you can tackle many faucet leaks on your own, saving both water and money. Happy repairing!
