Not all pipes are created equal. When it comes to burying water lines, a few types of plumbing pipes stand out.
1. PEX Pipe
PEX has become one of the most popular choices for new water lines. It’s flexible, durable, and resistant to freezing. At Spot On Plumbing, we’re so confident in our installs that we give a 5-year warranty on PEX pipe. That’s peace of mind you won’t find everywhere.
2. Copper Pipe
Copper is a tried-and-true material that’s been around for decades. It’s durable but more expensive. It also doesn’t handle soil conditions as well as PEX in some cases.
3. PVC or CPVC Pipe
PVC is sometimes used, especially in irrigation or lower-pressure applications. CPVC can handle hot water better but is less common underground.
4. Galvanized Steel (Older Homes)
If you live in an older home in Tulsa, you might still have galvanized steel water lines. These corrode over time and are a common cause of water leaks we repair.
How Deep Do You Bury a Water Line?
One of the most common questions I get as a Tulsa plumber is: “How deep do you bury a water line?”
In Oklahoma, the frost line is generally around 18 inches. That means we want to bury water lines deeper than that to prevent freezing. In most cases, we’re trenching to around 24 inches deep, sometimes more depending on the property, slope, and code requirements.
The goal is to get the water line safely below the frost line, while also making sure it’s deep enough to avoid damage but not so deep that repairs are impossible.
The Step-By-Step Process of Burying a Water Line
Alright, let’s walk through the process of burying a water line. This is how we do it professionally at Spot On Plumbing:
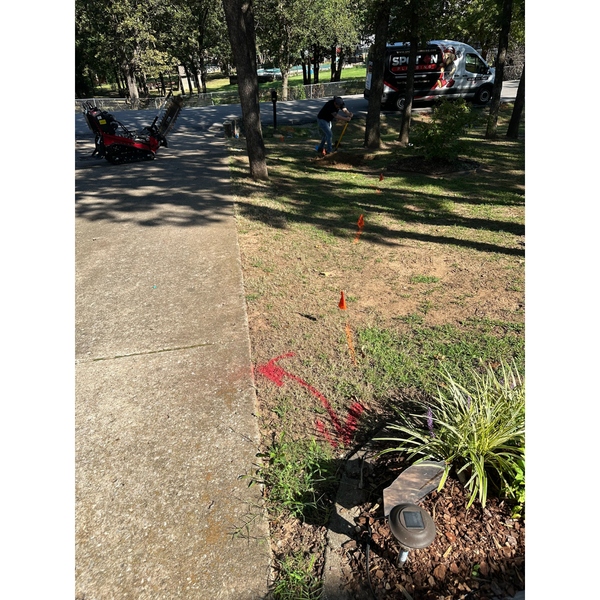
Step 1: Planning and Locating
Before we dig, we always call to have utilities located. You do not want to hit a gas line or electrical line while digging. That’s dangerous and expensive.
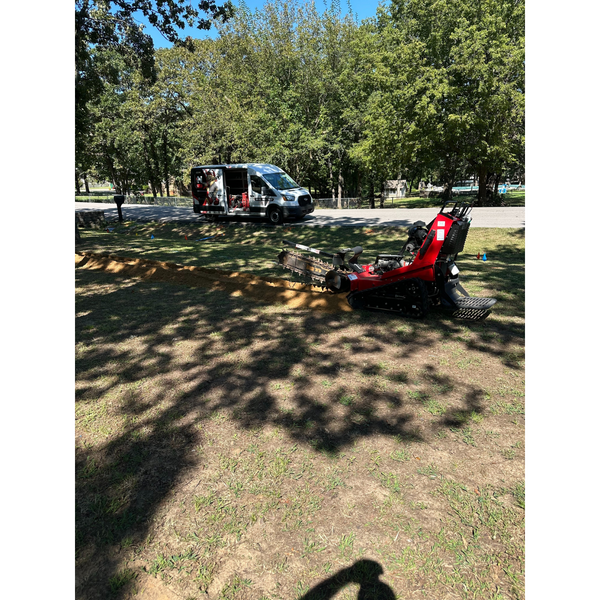
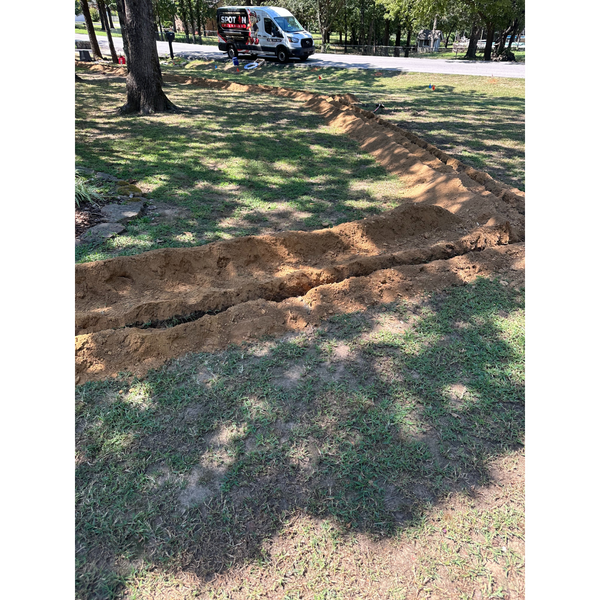
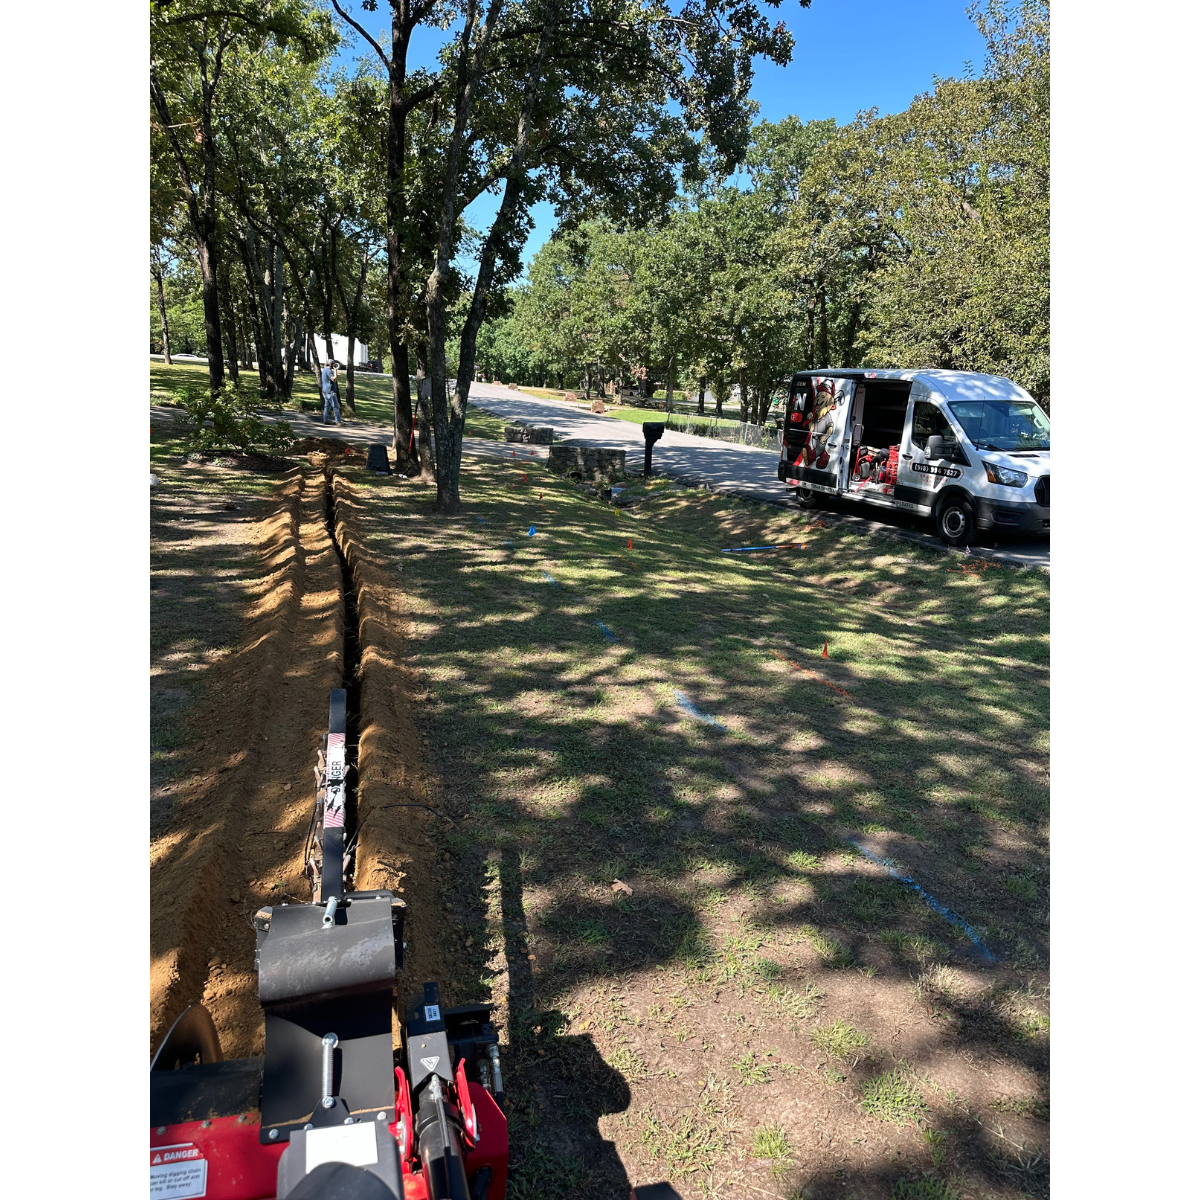
Step 2: Trenching
We dig a trench that’s usually around 24 inches deep. Sometimes we’ll go deeper if soil conditions require it. A trencher machine makes this a lot faster and cleaner, but we also do hand digging where precision is needed.
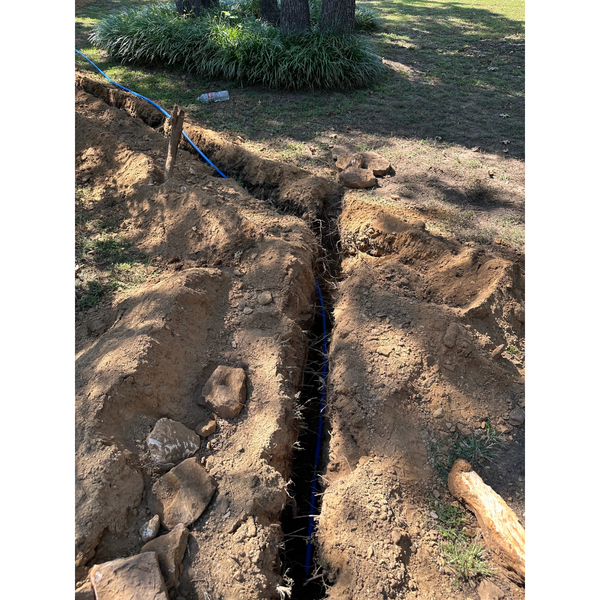
Step 3: Bedding the Pipe
We don’t just toss the pipe in the dirt. We make sure there’s a smooth bed of soil or sand underneath so the pipe isn’t sitting on rocks that could damage it over time.
Step 4: Laying the Pipe
The pipe gets laid in carefully with attention to slope and connections. We avoid unnecessary bends and fittings underground whenever possible, because fewer joints = fewer chances for a water leak.
Step 5: Pressure Testing
Before we cover the pipe, we test it. We’ll pressurize the line with air or water to make sure there are no leaks.
Step 6: Backfilling
Once the test checks out, we carefully backfill the trench. First with soft soil or sand around the pipe, then with the original dirt. We compact as we go so the ground doesn’t settle weird later on.